1.3. Adding Data Points
When you are connected to the Vine Server program, DataHub program or SkkyHub service, you can start adding data points.
In the Data Points tab, select a point from the Points list in the lower frame.
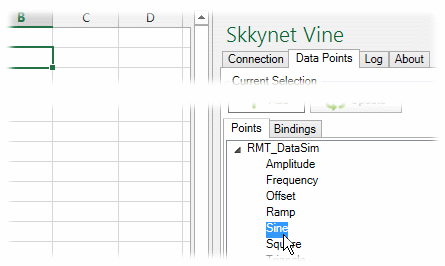
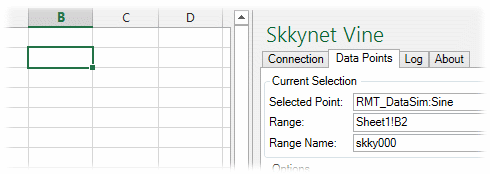
Notice that the Vine Add-in automatically fills in the Selected Point and Range fields, and automatically generates a Range Name. You can choose a different cell to change the range, and you can edit the range name, if desired.
When you are ready to add the point, click the button...
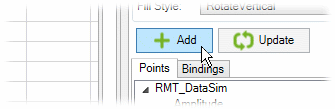
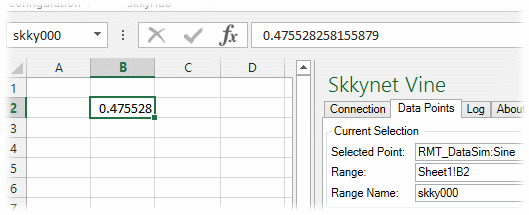
...and the point will be added.
![[Note]](images/note_1156523861.png)
At any time you can change the entered parameters for an existing point, and then click the button to have your changes take effect.
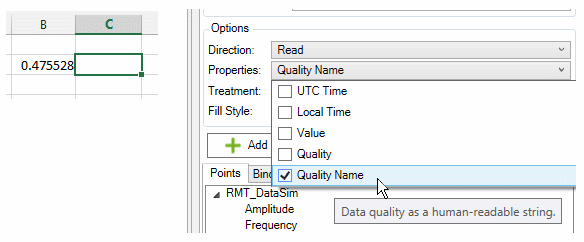
You can also add information about a point other than its value, using the Properties drop-down box. For example, go to another cell and then select Quality Name for the same point from the Properties list.
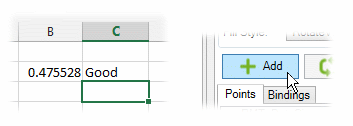
Click the button, and the quality name will get entered.
To add a point that writes back to the Vine Server instance, DataHub instance, or SkkyHub service, you can use the option to change the direction to Read or Write for one-way data flow.
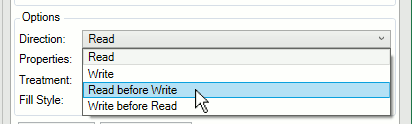
For bidirectional data flow, Read before Write always takes the value from the Vine Server instance, DataHub instance, or SkkyHub service initially when this worksheet is first opened. Write before Read, on the other hand, updates the Vine Server instance, DataHub instance, or SkkyHub service as an initial value. In either case, once the connection is made, the data is subsequently updated by the latest values from either side.
To see a list of the points you have added, click the Bindings tab.
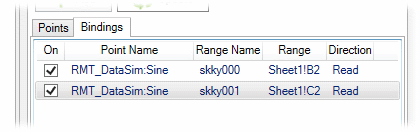
Here you can enable or disable any data point bindings you have made, or remove them.
Now that you are familiar with adding individual points, you are ready to work with ranges. For more details adding points, please refer to Section 2.2, “Data Points”.