3.3. Connecting Process Data
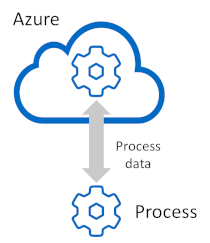
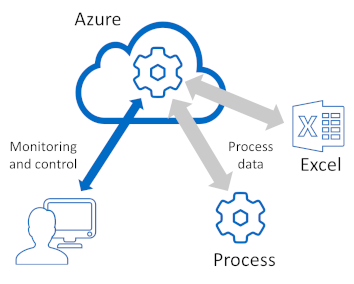
The Cogent DataHub service is often used to monitor and interact with industrial control systems that work with live data. You can use a local installation of the Cogent DataHub software to connect to such processes. For this test, we will use a local DataHub instance connected to a data simulator called DataPid.
![[Note]](images/note_1156523861.png) | |
If you don't have the DataHub program installed locally, you can download the DataHub software from the Cogent DataHub website. For information on installation and configuration, please refer to the Cogent DataHub software manual in this set of documentation. |
To access process data, you need to connect the local DataHub instance to your Cogent DataHub service using a tunnel connection. The local DataHub instance will act as a tunnel slave, while the Cogent DataHub instance running on Azure will be the tunnel master. Here is how to do it:
Start the DataHub program installed on your local computer. Select it from the Windows menu, or double click the DataHub shortcut icon.

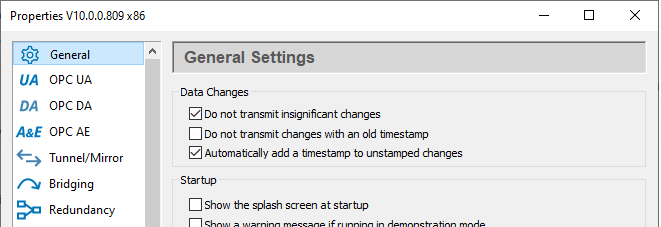
Once started, the DataHub instance opens the Properties window.
Start the DataPid program and ensure it is connected and sending data to your local DataHub instance.

This program produces live data to simulate an industrial process.
In the DataHub Properties window, select the option.
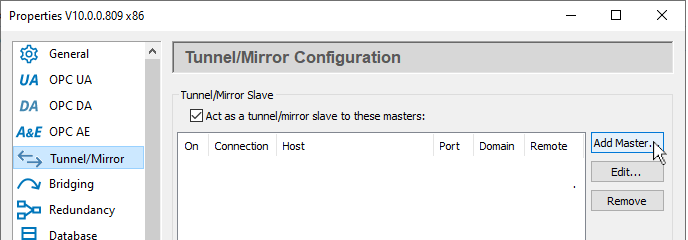
Click the button and configure a tunnel slave connection to the DataHub instance on Azure (the tunnel master) as follows:
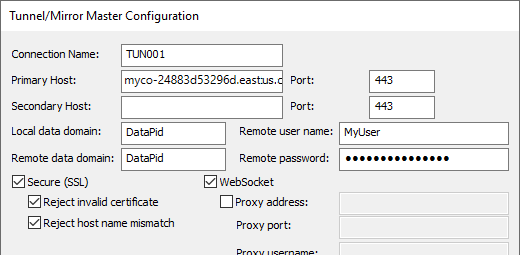
Connection Name: A unique name for this connection, with no spaces in it.
Primary Host: The Host string provided in the email you received from Skkynet.
Port: The port number
443will be entered automatically when you choose the and option.Local data domain: Enter
DataPid, to send DataPid data.Remote data domain: Enter
DataPid, to receive the DataPid data.Remote user name: Enter the User Name for this account. It is in the email you received from Skkynet.
Remote password: Enter the password associated with the User Name. Remember, this password cannot be recovered, and you will likely be using it again, so be sure to remember or record it in a safe, responsible way.
: Check this box. Also check and , since certificates for the DataHub service should always be valid.
The Cogent DataHub service uses certificates signed by R3, Let’s Encrypt with a root certificate authority of DST Root CA X3. If you get errors indicating the certificate is not trusted, you can run Windows Update to ensure the root CA is added to your Trusted Root Certification Authorities.
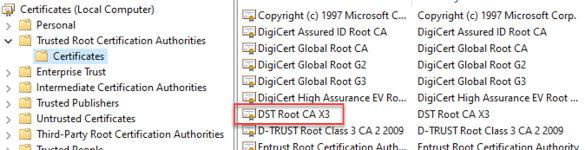
: Check this box.
Configure the connection options as follows:
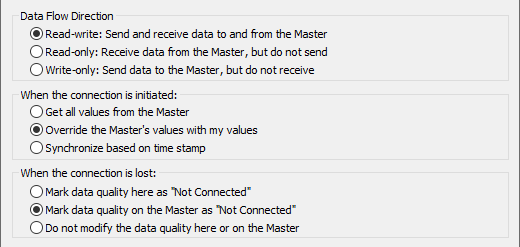
Data Flow Direction: make this for now.
When the connection is initiated: should be set to This way, after a disconnect, the DataHub service will get the latest values from this DataHub instance when it reconnects.
When the connection is lost: should be set to . Again, since this DataHub instance is the authoritative source of the data, you want the lost connection to register on the DataHub service, the destination.
Click and . The Status for this tunnel should change to Running, which means you are now tunnelling data to your DataHub service.

You can access your DataHub service and view the tunnelled data using the Remote Config application, as explained previously.
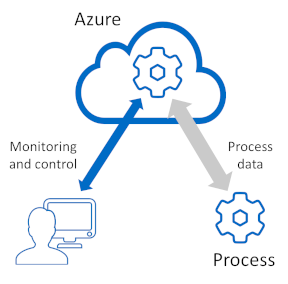
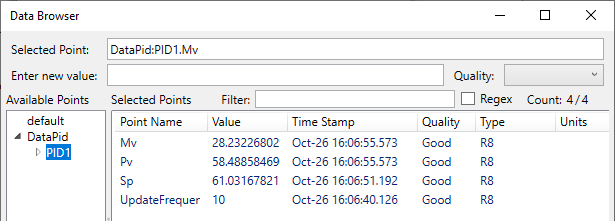
You can also view your process data in Excel.
If you haven't done so already, follow the steps in Connecting Test Data to see how to use Vine Add-in for Excel and do the necessary configuration.
In the Vine Add-in configuration panel, go to the tab, and then click the button.
The button text will change to .
Click the button. This disconnect/reconnect cycle will reload the data set from the Cogent DataHub service.
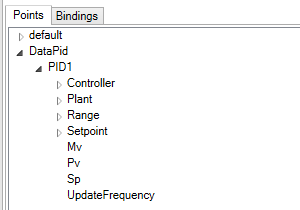
Go back to the tab. You will now see a DataPid entry under Points.
In the worksheet, select cell
A5, and then in the Vine Add-in configuration, double click on the Mv point in the list. The point configuration will get filled in for you, and the data will start coming in.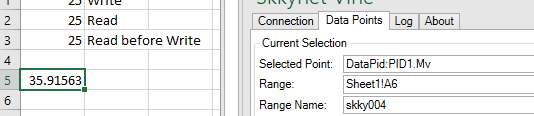
To simulate controlling a process, select cell
A6, and in the Vine Add-in Points configuration, double click on the UpdateFrequency point. The value of 10 should appear in cellA6. You can also add labels to these two cells inB5andB6.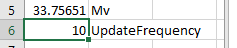
If you change the value in
A6from10to2, you should see the Mv data update twice per second instead of ten times per second.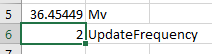
To check, go to the DataPid interface, and click the button to open the full DataPid window:

You will see that the Update Frequency value has changed from
10to2.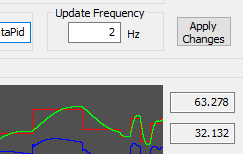
Changing the value in DataPid will change the value in the worksheet, and vice-versa.
This is a simple example of how you can send live process data to the Cogent DataHub service, access it from a connected client, and then send control signals back to the process. Of course, using the Cogent DataHub software you can connect virtually any industrial or local process, and with the Cogent DataHub service you can connect any client running on Azure or elsewhere.