1.2. Web Launch
To access WebView remotely—to use with the Cogent DataHub service for Microsoft Azure or a remote Cogent DataHub instance—you can launch it using the Skkynet Web Application Manager. This special program helps you securely manage the launch process and application files.
Access the Skkynet Web Application Manager in one of these two ways, depending on your program or service:
- Cogent DataHub service for Azure:
Click the Web Launch Page link in the email you received from Skkynet.

A remote Cogent DataHub instance:
Ensure that the remote DataHub instance is running, and that its Web Server feature is enabled.
Open a web browser and type in the IP address or network name for the DataHub computer. If the Web Server feature on that DataHub instance is configured to use a port other than the default port
80, include that port number in the network address. For example, if the remote DataHub instance is at192.168.3.12and its Web Server is configured to use port8080, then the network address would be192.168.3.12:8080.
Any of these approaches opens the launch page for the Skkynet Web Application Manager:
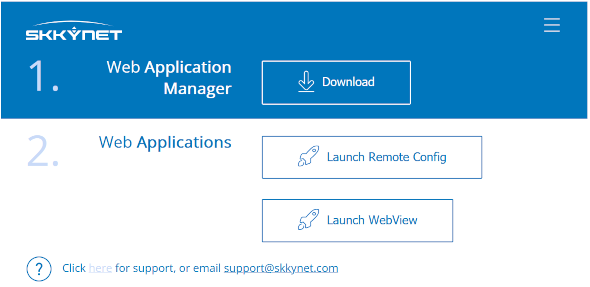
Click the button to download and install the Web Application Manager.
In the Web Application Manager, click the button.

![[Important]](images/important_2051192373.png)
If this is the first time that a remote launch of the WebView application has been done on this computer, you will be prompted to securely download the necessary files to run it. Please see Launching Applications for additional information.
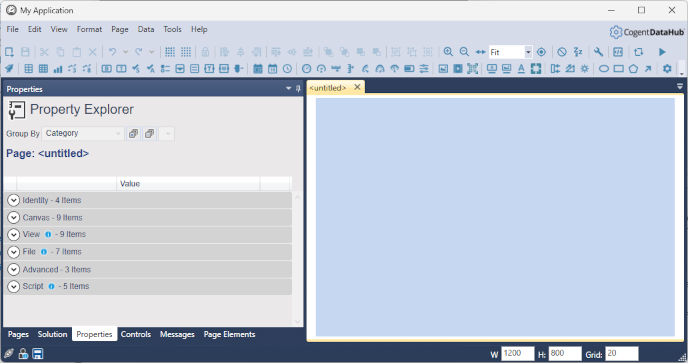
As soon as the WebView application files have been accepted, the WebView application will run:

To log in, enter the appropriate credentials. If accessing a remote DataHub instance that has not yet been configured for security, you can enter
Local,admin,adminfor Organization, Username and Password, respectively. To change user name or password, please refer to DataHub Security. For details about connection options, please see Advanced Launch Options. And for DataHub configuration options, please see DataHub Configuration.The first time the WebView app is used, it will download a set of WebView controls and support files which enable you to design and build WebView pages. These files are also certificate signed, so you will see a second list of files you need to accept or reject, as explained in Launching Applications. If you reject the files, you will not be able to place or see controls in your WebView screens.
![[Note]](images/note_1156523861.png)
The WebView application allows you to create and deliver custom controls to your users. These custom controls are delivered to the client as DLLs that contain executable code. If you have created a custom control, or are using somebody else’s custom control, it must be signed with a code signing certificate. If the certificate is not valid the dialog background will be red, and the certificate status will be Invalid. You may still accept the controls if you know they are from a trusted source. Never accept controls that are delivered from the Internet, including from Skkynet, that are not signed with a valid certificate.
Click to download the necessary files and continue. Your choice will be remembered, so you will not see this again the next time you run the app.
It is highly unlikely, but if for some reason you want to revoke your acceptance of the downloaded WebView controls and support files, then you will need to navigate to the following location and delete the
settings.xmlfile.C:\Users\user name\AppData\Roaming\Skkynet\Cache\your IP address_80\ControlAssemblies
You are now ready to start creating pages.