14.3.3. Data domain restriction
In addition to restricting user access by protocol and IP address, you can also restrict access to the data according to the DataHub data domain. This requires editing an existing role, or creating a new one. We recommend creating a new role, which can be done as follows.
Single domain
In the Security configuration dialog, select the Roles tab and click the button to add a new role.
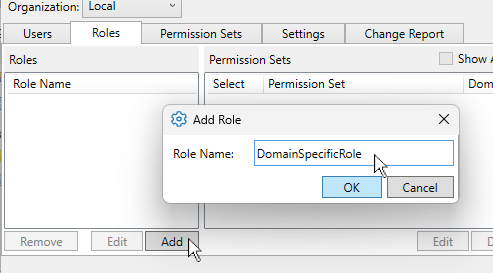
Enter a name for the role. For this example we'll call it DomainSpecificRole, because we will apply it to just one domain.
Click .
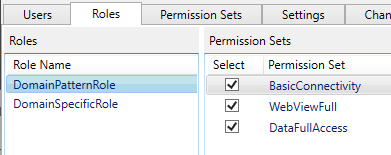
In the Permission Sets for the new role, select and .
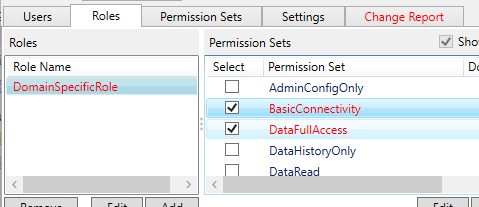
Also select , which we can use to test the results.

For each of the three permission sets, select it, click the button, and enter the pattern
Domain1.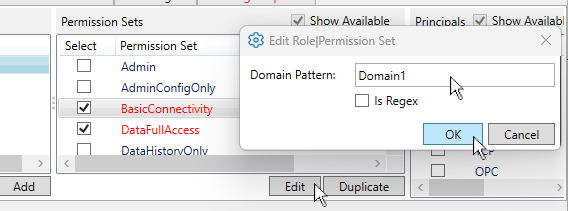
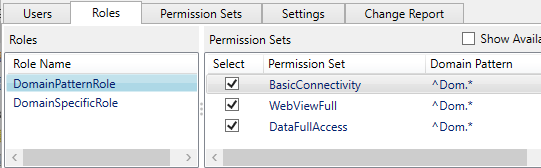
All three permission sets should now show a Domain Pattern of
Domain1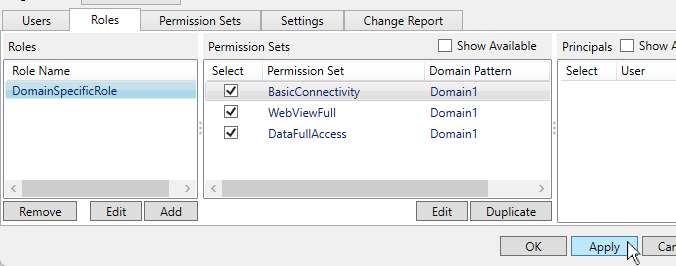
Click to apply the changes. Now we need to create a user for this role.
In the Users tab, click the button to add a Built-In user.
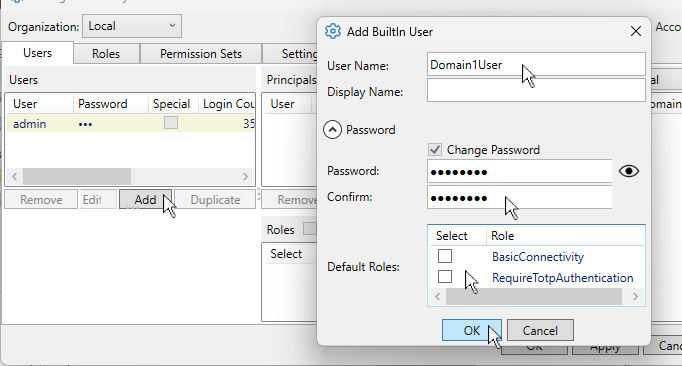
Enter the user name
Domain1Userand a password.Uncheck both Default Roles boxes and click .
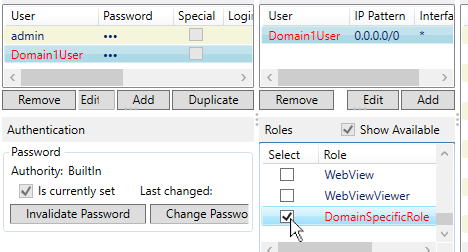
In the Roles for this user, select DomainSpecificRole. That is the only role you need.
Click and . For the Domain1User, the list of Effective Permissions should now display the Data permissions with the Domain Pattern of
Domain1.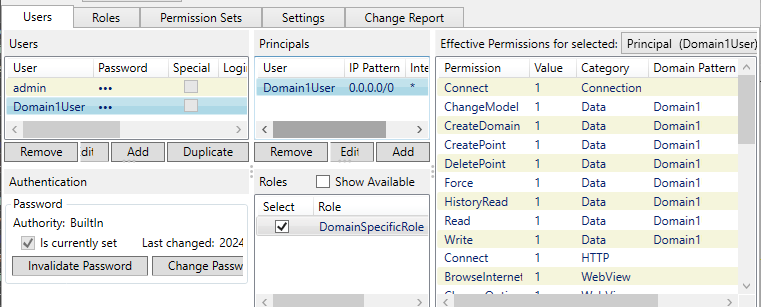
Notice that it also has permissions in the Connection, HTTP, and WebView categories. These are not data-specific, so the domain pattern does not apply.
This completes the basic task of restricting access to data according to one
DataHub data domain. Anyone logging onto the system with the
Domain1User username and password will have read/write
access to the data in Domain1 only.
For an example of specifying multiple domains, and for testing the results, please continue with the following steps.
Domain pattern for multiple domains
As above, we will first add a new role, this time called
DomainPatternRole.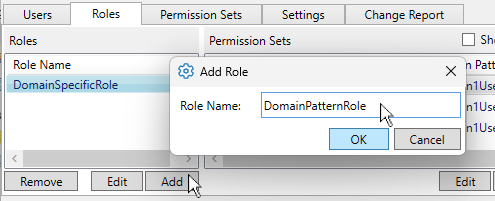
Give this role the same three permission sets, BasicConnectivity, DataFullAccess, and WebViewFull.
But this time for the Domain Pattern of each permission set, enter
^Dom.*, and check the Is Regex box.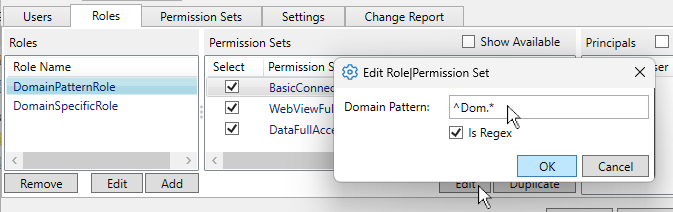
This regular expression syntax will match any domain that starts with the characters
Dom.![[Note]](images/note_1156523861.png)
The DataHub program uses .NET Regular Expressions, whose use and syntax can be found here.
Click the button. The completed role should look like this:
Now, add a new user,
DomainAllUserand give it only the DomainPatternRole.Click the button. Your
DomainAllUsershould now have the DomainPatternRole that allows connections to any domain starting with the charactersDom.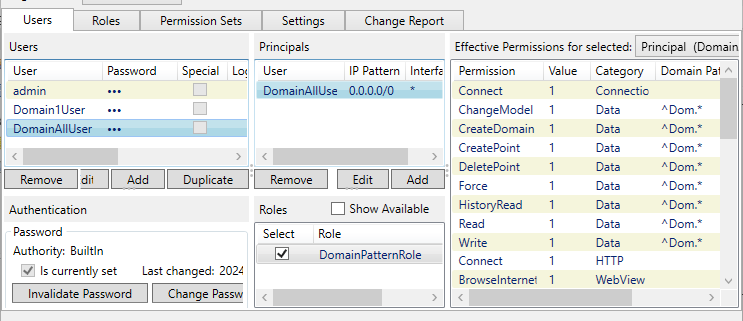
Testing
You can use WebView to ensure that the domains you've specified are the only ones available to the user.
Start up WebView and log in with the
Domain1User.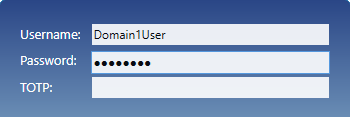
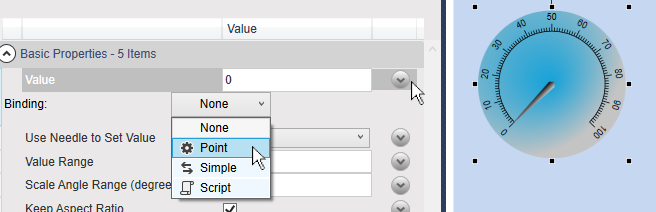
Put a gauge control on the canvas and edit its value property, choosing a Point binding.
Enter the string
Domto display a choice of available points.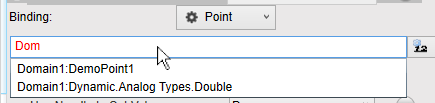
Notice that only points in
Domain1are on the list.Try another domain. Enter
defaultor any other domain name used in your DataHub instance.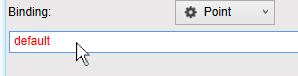
The list should be empty.
Now close WebView and try logging in with
DomainAllUser.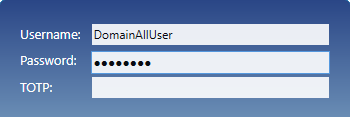
Entering
Domshould now display the points available in any domain that matches the pattern.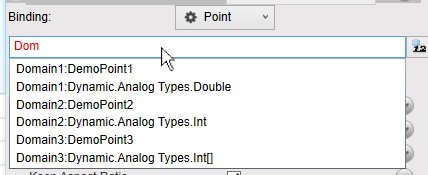
This is how to restrict access to specified data domains. Of course, any user can also be restricted by protocol and IP address.