3.12.3.2. Google IoT
![[Important]](images/important_2051192373.png) | |
Google no longer offers an IoT service, but ClearBlade offers a complete migration path that you may want to use instead. The DataHub interface and this documentation will continue to use "Google" terminology to stay consistent. |
Before configuring a DataHub MQTT connection to Google IoT, you need to create a device in the Google IoT portal. Here's how:
Open the Google IoT console.
Select from the left-hand menu.
Select .
Set the Registry ID and Region.
Create the registry.
Select from the left-hand menu.
Select .
Enter a name and click .
Create a key using OpenSSL in a terminal, as follows:
Run this command in a shell prompt that has openssl installed:
openssl req -x509 -newkey rsa:2048 -keyout rsa_private.pem
-nodes -out rsa_cert.pem -subj "/CN=unused"
This will create 2 files, named
rsa_cert.pemandrsa_private.pemConvert the
rsa_cert.pemandrsa_private.pemto PFX in your local machine:openssl pkcs12 -inkey rsa_private.pem -in rsa_cert.pem -export -out rsa_cert.pfx
Select the device, select its Authentication tab, and click .
Select for the Public key format and click .
Copy the text of
rsa_cert.peminto the dialog box.Download the Google CA root certificate.
Now you can configure the DataHub instance.
Click the Google IoT tab and enter the following information as provided by Google:

- Project ID
The ID for your project.
- Registry ID
Your Registry ID.
- Device ID
The Device ID for this device.
- Cloud Region
The name of the Google cloud server region.
- Client Certificate
A path to
rsa_cert.pfxthat you created in the previous steps.- Token Lifetime
Google IoT and ClearBlade (Google IoT work-alike) drop an MQTT client connection when the connection token lifetime expires. Here you can set the token lifetime from .005 to 24 hours. The default is 1 hour.
Press the button to add that configuration to the list.
Select the Authentication tab in the second row of tabs.
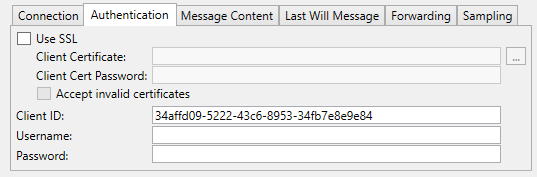
In the CA Certificate field, enter a path to the Google CA root certificate file that you downloaded previously. If the certificate is in PEM format, you can use it without modification even if the DataHub instance requests a CER or CRT format file.
Open the Connection tab.

Enter a Label to identify the connection. There should be no spaces in the name. It doesn't matter what name is chosen, but it should be unique to other connection names.
You are now ready to configure your Exchange Data options.