2.5. Property Binding
The WebView application provides extensive support for property binding, allowing the properties of one control to be bound to other controls, or to DataHub point values. These three binding options are available on many control properties:
None allows you to enter a static value, not bound to anything.
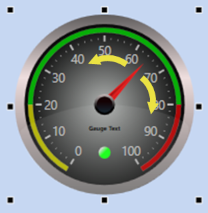
Point lets you bind a control property to the value of any DataHub point. When the point changes value, the property changes value with it. For example, you can bind the current value of a gauge to a DataHub point, animating the gauge indicator with live data.
Simple lets you bind a property of a reference control to the property of a linked control. Whenever you change the value of the property on the reference control, the property will change on any linked controls. For example, if you bind the color and size of several buttons to a single, reference button, whenever you change the color or size of the reference button, all the other buttons will change too. Any control with bindable properties can be used as a reference control, a linked control, or both.
There are several features of property binding that facilitate page design, such as:
Simple bindings are universal so that any control can be bound to any other control, as long as the bindings are compatible (eg. value-to-value, color-to-color, etc.).
The Property Picker shows compatible properties for simple bindings.
For simple bindings, properties can be both references and links which means that bindings can be chained, allowing controls to act simultaneously as a references to other controls or be linked to them, in any combination.
Simple and Point bindings can be combined in a single control, which allows you to get your data from the DataHub program, and the control appearance from another control.
Copying a control will copy all property bindings. So, if you need a number of similar controls to share certain properties, you can make a reference control and one linked control, and then copy the linked control as many times as needed.
2.5.1. DataHub Point Binding
To create a Point binding you can follow this example, where we bind the indicator value of a gauge to a DataPid point:
Start the DataPid program that is included in your Cogent DataHub archive to generate some test data.
Open a blank page and add a Circular Gauge 2 control.
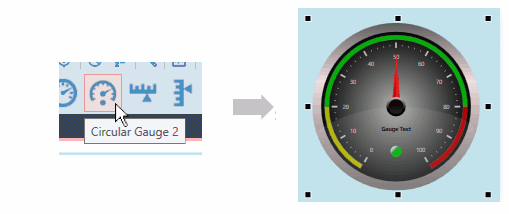
Open the Basic Properties of the gauge, and click the binding button on the right side of the Current Value row.
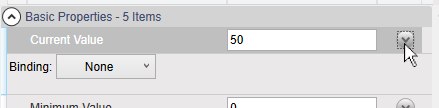
A Binding selection box will appear.
In the Binding selection box, click the down arrow to open the list, and select Point.
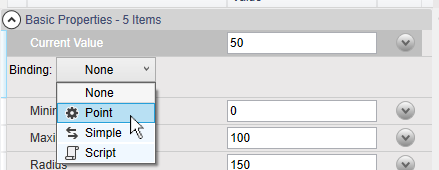
This will activate the point selection entry field.
To connect to the DataPid point DataPid:PID1:Pv, you can enter just Pv. All the points that have "
Pv" in their names will appear.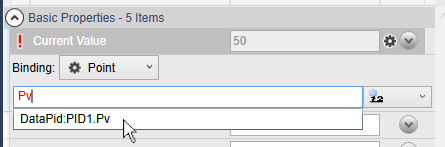
Select the point DataPid:PID1:Pv. Once selected, the data will start updating in the value entry, and the gauge needle will start to move.