13.3.3. Example - Part Three
So far we've shown how to receive data from a device or other MQTT client. Now
we will look at publishing data back to the client. For this we will use the
data points setpoint and activate.
In the DataHub MQTT Broker, reopen the Advanced JSON Message Format window to continue editing.
Click the tab at the top to open the Publish interface.

Click the button, enter the name
TestPublish1, and click .
In the ASP Specification, enter the following:
{
    "setpoint": <%= point.DblVal %>
}
This is a simple publish format for the 'setpoint' value, which will allow the DataHub data engine to write it to the device as a double.
Click the button again, enter the name
TestPublish2, and click .In the ASP Specification, enter the following:
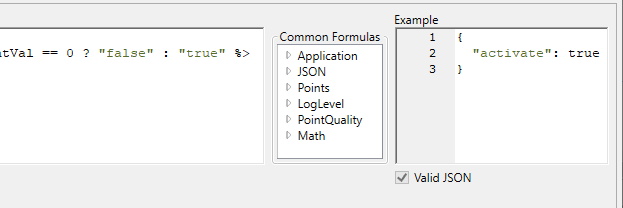
{
    "activate": <%= point.IntVal == 0 ? "false" : "true" %>
}
This tells the DataHub data engine to convert boolean entries of
0or1to the stringfalseortrue, to match the data format of the device.As you enter each specification, the system generates an example of the MQTT formatted message that will get sent to the client. A checkbox at the bottom indicates whether this is valid JSON.
Now we need to call these specifications. Switch back to the tab, and in the Initialization Script panel, add the following lines:
app.TopicInitialization = function (topic, originalTopic, message, json)
{
	app.RegisterPoint(topic, "setpoint", "TestPublish1");
	app.RegisterPoint(topic, "activate", "TestPublish2");
};
The
app.TopicInitializationallows you to associate data points and publish formats. Theapp.RegisterPointfunction registers these two points with the DataHub data engine, and specifies the JSON output format for each.Click the button to verify the output.

Click to close the Advanced JSON Message Format window, and then click .
Restart your DataHub instance to clear any unused data points.
Reconnect your MQTT demo client to your DataHub instance and resend the sample message.
Subscribe to all points by using just the hash (
#) character. You should receive messages from the 'setpoint' and 'activate' points.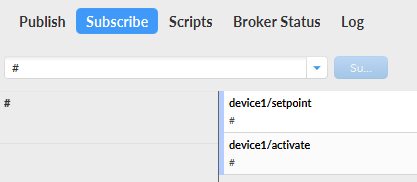
To test, open the Data Browser to the device1 branch of the MQTT-Broker domain.
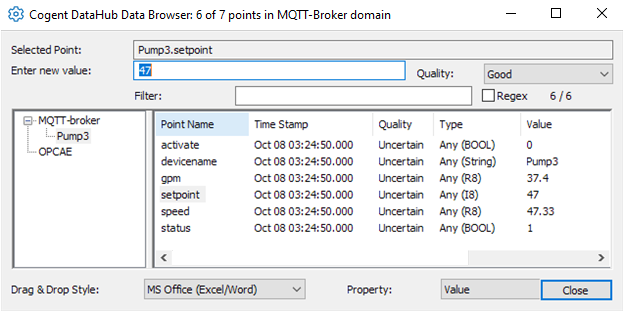
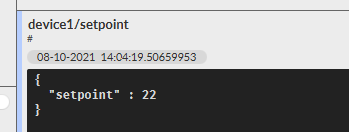
Click on setpoint and enter a new value. When you press , the value will get transmitted to your MQTT client.
These examples give a brief introduction to the power and flexibility of the MQTT Advanced Parser. Please see the MQTT Advanced Parser Reference section for more detailed information.