16.2. Configuring the Mail Server
Before you can send email from a DataHub instance, you will need to configure the DataHub mail server program, as follows:
With a DataHub instance running, right click on the DataHub system-tray icon and choose .
In the Properties window, select Email/SMS.

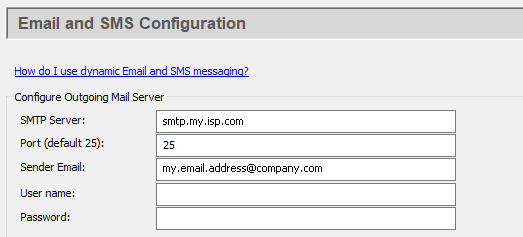
Enter the information that you want to use for sending the email. This can be the same as the SMTP server listed in your email client program.
- SMTP Server:
The name of the SMTP server.
- Port:
The SMTP port number (typically this is port 25).
- Sender Email:
The email address of the sender. This will appear in the
Fromfield of the email. The address can be in either of these two forms:[email protected]will be displayed as[email protected]in the email reader (client).User Name <[email protected]>will be displayed asUser Namein the email reader (client).
- User name:
The log-in name you use to access this SMTP account.
- Password:
The applicable password.
![[Note]](images/note_1156523861.png)
You will need to know your email account user name and password in order to have the DataHub instance successfully send to the outgoing SMTP Server. If you have problems, then look in the DataHub Script Log to view any error messages. Typically, problems are due to incorrect user name and password.
In the Security section:
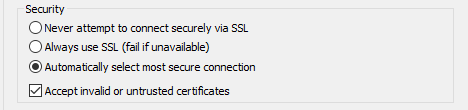
Choose one of the three SSL options, and specify whether you want to accept invalid or untrusted security certificates.
Click the or button to submit your entries.
The DataHub mailer is now ready to use. If you haven't already done so, we suggest sending a test message as explained in the next section.