1.2. Making a Connection
Once the DataHub Add-in is installed, you are ready to make a connection.
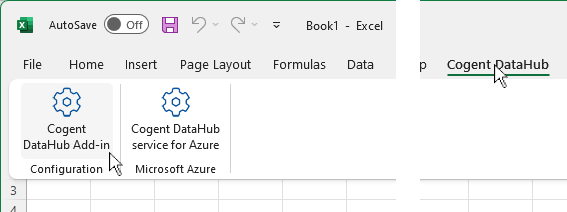
In Excel, select Cogent DataHub from the ribbon menu, and then click the button.
This opens the configuration panel:

In the Connection tab you can configure a connection to the Cogent DataHub program or Cogent DataHub service for Azure.
Enter the Host Name or IP address and the Port number for the host computer for your DataHub instance, or the IP address for your Cogent DataHub service for Azure account. For a WebSocket connection, the port number is typically
80, and for SSL (with or without WebSocket), it's typically443. Connections to the DataHub for Azure must use WebSocket and SSL on port443.Enter your User Name and Password for the DataHub program or DataHub for Azure account. You can check the Save box to save your password with this worksheet.
Checking the Connect automatically box tells the DataHub Add-in to make the connection to the data source as soon as the worksheet is opened. To activate this option, you need to check the Save box for the Password entry, even if you have not entered a password.
You can configure Throttle updates to control the rate (in milliseconds) at which updates come into Excel over this connection. This is helpful for reducing bandwith or system resource use. The default (
0) allows updates as fast as possible.You will need to configure Proxy Settings if there is a proxy between you and your DataHub program or DataHub for Azure. Enter the Host Name, Port, User Name and Password for the proxy here.

See Security Settings in Reference.

When you are ready to connect, click the button. The status should evenatually change to Connection succeeded: Connected.

If the connect attempt fails, you can check the Log to see what the connection steps were, and get an indication of what might have gone wrong.
Once your connection is established, you are ready to add some data points.