7.13. OPC UA Test Client and Server
7.13.1. Using a Test Client
To test the DataHub OPC UA Server using the OPC Foundation's OPC UA Quickstart Data Access Client, follow these steps:
Ensure that a DataHub instance and DataPid are running.
Download the OPC Foundation software package from here:
http://cogentdatahub.com/assets/
opc-ua-1.02-.net-sample-applications-setup-336.0-20150630.zip
Open the
.msiarchive to install the software.From the Windows Menu, go to , and open the . This should open the Quickstart Data Access Client:
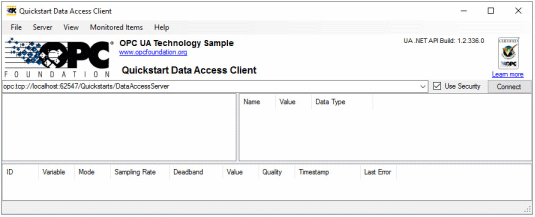
From the menu, select , and then press the button.
Select the address that starts with
opc.tcp.
Press .
Click the button in the client window.

You will get an Untrusted Certificate message.
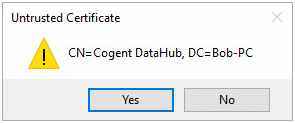
Click . You will see an error message, telling you that the connection was not successful. This is normal. The DataHub instance has rejected the client's certificate, and placed it in the rejected certificate store. At this point you have two options:
You can uncheck the option in the Quickstart client.
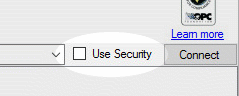
You can go to the DataHub instance and accept the client certificate by clicking the button in the OPC UA Server section of the Properties window.

Once you have done either or both of these, click the button again. You should now see the DataHub data hierarchy.

To test monitoring, right-click a data point, for example
DataPid:PID1.MV, and select . You should see the point and its data appear in the list at the bottom:
Do the same for
DataPid:PID1.PVandDataPid:PID1.SP. To test writing to the DataHub instance, right-click a writeable data point likeDataPid:PID1.SP, select and enter a value between 0 and 100. You should see the SP value in DataPid change. Note that if DataPid is running in Auto mode, the value of that point changes automatically every 5 seconds.